
How to apply step by step makeup with pictures can be very confusing for beginners, but once you know the right process, you’ll realize it is actually not that difficult after all. Here is a comprehensive guide to help you in applying makeup in a detailed step-by-step process using images. Every step is illustrated clearly.
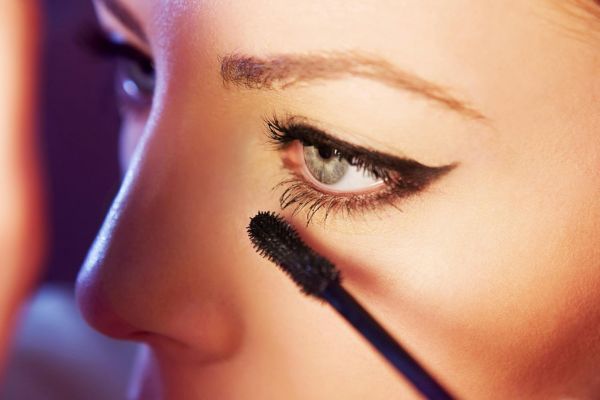
This tutorial will definitely help you if you are new or someone who needs to enhance their makeup techniques to look natural and perfect.
Why Learning Step-by-Step Makeup Matters
Before we start discussing the steps, we should first know why it is important to follow the right sequence.
- It ensures that your makeup will appear smooth and natural.
- Proper application leads to even blend of your products.
- Your makeup will stay on longer without melting or looking patchy.
- Also, you won’t make typical mistakes such as cakey foundation and uneven blending.
Following the right sequence will make your makeup look neat and professional.
Understanding Your Skin Before Using Makeup
Before learning how to apply step by step makeup with pictures or tutorials, it is essential to know your skin type so you can choose the right products.
Types of Skin
- Oil Skin – Produces too much oil and the makeup will melt faster.
- Dry Skin – Makes your skin feel dry; makeup can appear flaky.
- Combination Skin – Dry cheeks and oily T-zone
- Normal Skin – Smooth skin that is easy to work with
Why This Is Important
- If you use the wrong products:
- The makeup base will not be blended.
- The makeup will not stay longer.
- Your skin can have an uneven appearance.
Easy Tip: Always use the right products based on your skin type.
Important Makeup Products to Have
First of all, it is necessary that you have basic makeup products.
Facial Products
- Cleanser
- Moisturizer
- Primer
- Foundation
- Concealer
- Powder
Enhancement Products
- Blush
- Bronzer
- Highlighter
Eye Products
- Eyeshadow palette
- Eyeliner
- Mascara
- Eyebrow pencil
Lip Products
- Lip balm
- Lipstick or Lip gloss
Tip for Beginners: Start slow and add makeup products one at a time.
Guide to Applying Step-by-Step Makeup
For a perfect and flawless finish, you need to apply the right products in the right order. Learning how to apply step by step makeup with pictures ensures your products blend beautifully throughout the day.
1. Always Start with Clean and Fresh Skin
- Always start by cleaning your face with the help of an appropriate cleanser so that you can clean out the dirt, sweat, and oil accumulated on your skin. Otherwise, makeup won’t stick properly to your skin.
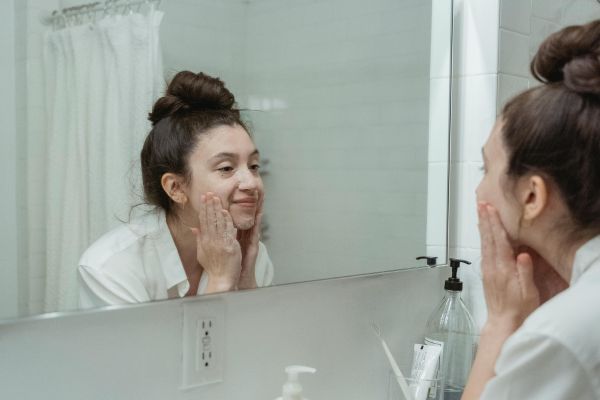
- Always use lukewarm water rather than hot water when washing your face, as hot water may damage your skin and leave it dry. Clean skin allows makeup to be blended seamlessly.
- Use a soft towel rather than rubbing your skin with it in order not to irritate it.
This step is crucial as clean skin equals smooth makeup application.
2. Apply Moisturizer
- Moisturizer makes your skin smooth and hydrated, and is very essential prior to makeup. Your skin needs to be hydrated in order not to have dry spots on your face.
- Apply a little bit of the product and spread it all over your face and neck, massage gently. This will increase the effect of your moisturizer.
- Even if you have oily skin, never neglect moisturizing, as skipping it will cause more sebum secretion, and thus mess up with your makeup.
Hydrated skin makes makeup stay flawless for longer.
3. Use Primer
- The Primer acts as a base for applying makeup by filling up the pores and fine lines, hence creating an even texture of the skin.
- Put a little bit (of a pea size) in the areas that need coverage with large pores or oily skin; that would be your nose, forehead, and chin.
- It keeps your makeup from melting and smudging, particularly during warm weather.
In this regard, think of primer as a “grip” for makeup.
4. Apply Foundation
- Foundation is the product that ensures even tone of your skin and creates an even base for your makeup.
It helps cover any redness, dry patches, or uneven areas of your skin. - Take some and put dots on your forehead, cheeks, nose, and chin, and blend well using either a sponge, brush, or your hands.
- Remember that you should always pick up the right color for your natural skin and blend well around your hairline and jawline so that there is no difference between your face and neck.
It is not about covering your skin; it is about evening it out.
5. Apply Concealer
- Concealer is used for covering those parts which foundation fails to conceal such as dark circles, spots and blemishes.
- This can be applied in the form of a triangle below the eyes to give a fresh look to the face.
- The concealer should not be rubbed but should be dabbed since the latter gives better results.
Concealer gives a bright and fresh appearance to the face.
6. Set with Powder
- Setting powder is used to keep your foundation and concealer fixed to prevent movement and creasing throughout the day.
- Use a thin amount through the brush or puff, particularly on oily spots such as the T-zone (forehead, nose, chin).
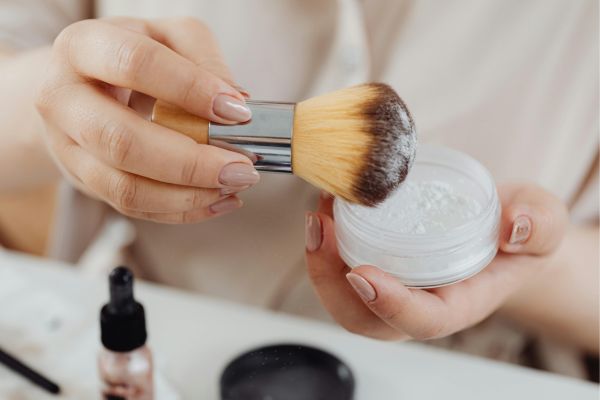
- Excessive powder can cause your skin to appear dry or caked up, so you should always use minimal amounts of powder.
Powder helps keep your makeup matte and lasts longer.
7. Contour and Bronzer (Face Definition Step)
- Contouring will help in giving structure to your face by adding shadows to give it a structured and chiseled look.
- Use the contouring technique below your cheeks, along your jawline, and at the sides of your nose.
- Bronzing will be used to give your face warmth and make it look like you have been tanned.
Make sure you blend well so that the lines are not too harsh.
8. Apply Blush
- It will bring out the natural colors of your face, which will make your face look fresh.
- It should be applied on the apples of your cheek bones (those areas which lift up when you smile).

- Picking the appropriate color is essential as soft pink and peach colors will complement the day look well.
Blush will restore your face’s radiance after wearing base make-up.
9. Apply Highlighter (Glow Step)
- Highlighter will be used to bring out the best in your facial features.
- Apply the highlighter on those parts that are usually illuminated by natural light such as the cheekbones, nose bridge, and the brow bone.
Be careful to apply just a little and make sure it blends well so that you do not end up looking too shiny.
10. Eye Makeup (Enhancement Step)
Eyeshadow
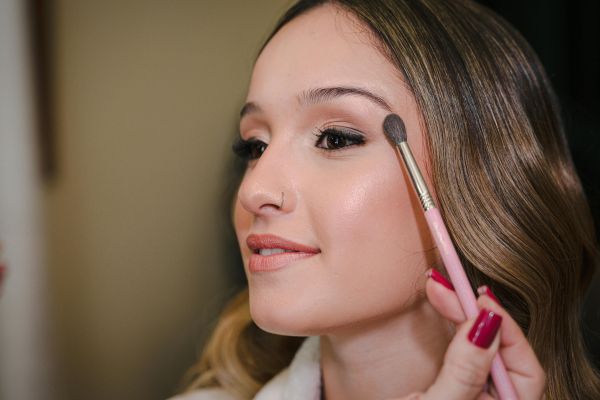
- Start with a light shade as a base, then apply a medium shade on your eyelid and a darker shade on the outer corner for depth.
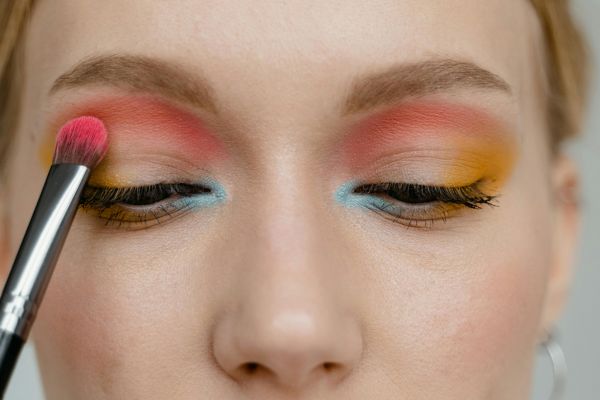
- Blending is the most important part—blend until there are no harsh lines.
Eyeliner
- Create a thin line near your lashes to contour your eyes.
- Beginners should practice with straight lines first before doing wings.
Mascara
- Start by applying from the base of your eyelashes and work upwards to achieve lengthened and thicker-looking lashes.
- Apply another coat for a more dramatic effect; however, allow the first coat to dry a bit to avoid any clumping.
11. Fill Your Eyebrows (Framing Step)
- Eyebrows outline your face and complete your makeup application; therefore, your eyebrows should look natural and well-groomed.
- Apply small strokes of color where there are any gaps rather than making sharp lines.
- Apply using a spoolie brush to give you a more natural finish.
Brows that look natural are always better than very sharp or dark brows.
12. Apply Lipstick (Final Touch Step)
- Lip balm should be applied first to soften your lips before applying any lipstick.
- A lip liner may be used to contour your lips and make the lipstick wear off slowly.
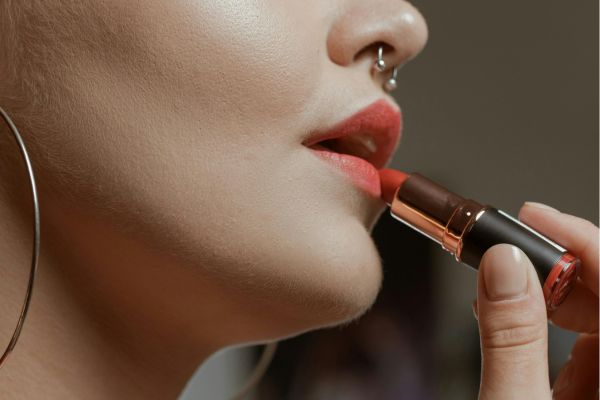
- Lipstick should be applied evenly with regard to colors that match your style; nude for day and dark for special occasions.
Lips make your whole makeup look.
13. Use Setting Spray (Final Lock Step)
- Setting spray is the last step that helps your makeup stay in place for a long time without melting or fading.
- Hold the spray at a distance and spray evenly on your face, then let it dry naturally.
- It also gives a more natural and fresh finish instead of a powdery look.
This step in how to apply step by step makeup with pictures is especially useful in hot weather to prevent your makeup from melting.
Common Makeup Issues and Easy Fixes for a Flawless Look
By learning how to apply step by step makeup with pictures you can also learn about common issues and their fixes so, let’s learn about it:
1. Makeup Looks Patchy – How to Fix It
- Mostly, patchy makeup is caused by having dry skin that hasn’t been well-prepared for the application of makeup, hence, clean your face and moisturize it before you apply makeup.
- Use foundation in small amounts rather than using too much at once.
- Also, using a wet sponge will help even out the makeup.
2. Makeup Gets Oily Quickly
- Oil makes makeup come off, so you should apply an oil control primer underneath your foundation.
- Your makeup should be set using a powder because oil starts to appear in the T-zone first.
- Keep blotting papers or powder with you to touch up throughout the day.
3. Foundation Looks Cakey
- This problem is caused by excessive application of makeup or improper blending of makeup.
- The user should use only a small quantity of foundation and then layer it gradually rather than applying it in a thick layer.
- Misting a bit of setting spray will help in melting the layers together.
4. Makeup Doesn’t Last Long
- This happens when your base isn’t prepared well.
- Make sure to apply primer before applying foundation and setting spray at the end of your makeup process.
- Use the products in the right order and avoid touching your face often.
5. Wrong Foundation Shade
- Selecting the wrong shade will give your face a totally different look from your neck.
- Foundation should always be tried around your jawline area.
- When there’s slight variation in the color, it can be mixed with other shades.
Beginner-Friendly Makeup Routine
- Wash your face and put on some moisturizer, then apply primer in small quantities. This ensures you have a clean, moistened base for makeup application.
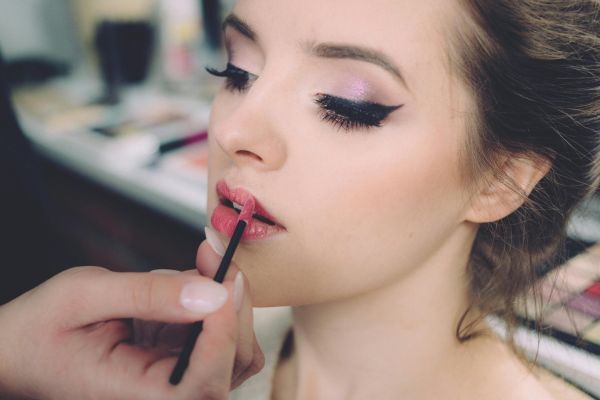
- Apply a thin layer of foundation, apply the concealer if you have some areas that need concealment, and finally apply a little powder for a lasting effect. You should also avoid applying many products to ensure that you don’t end up looking heavy.
- Apply some blush, mascara, and finally a lipstick to bring out your features.
Keep it minimal and natural while learning, and focus on blending properly.
Tips for Better Makeup Results
- Always start with small amounts of foundation, concealer or other makeup products. This will help you to have control over blending and make you avoid cakey finish.
- Apply your makeup under natural light: Make sure that when applying your makeup, you are in natural daylight or in front of a window, because you will be able to see how your makeup looks.
- Learn to blend well: Blending is the key moment in the process of applying makeup. Regardless if you apply your foundation, blush or eyeshadow you should always do it well and blend.
- Practice often to perfect your skills: Just like everything else, makeup needs time to become perfect. The more often you will apply it, the more knowledge about your face features and skin type you will gain.
- Maintain hygiene and cleanliness of your tools: You should wash your brushes and sponges frequently to avoid skin issues such as acne and to achieve better blending.
- Use products suitable for your skin type: Use mattifying products if you have oily skin and moisturizing if your skin is dry.
Apply your makeup using small amounts, proper blending and clean tools.
Daily vs Party Makeup
1. Daily Makeup (Natural & Simple Look)
- The daily makeup consists of light base with little foundation applied so that you look natural, fresh, and not heavy. It’s ideal for daily purposes such as office and university makeup.
- Light colors like nude, peach, and light pink are used to highlight your features without making your makeup look bold and dramatic.
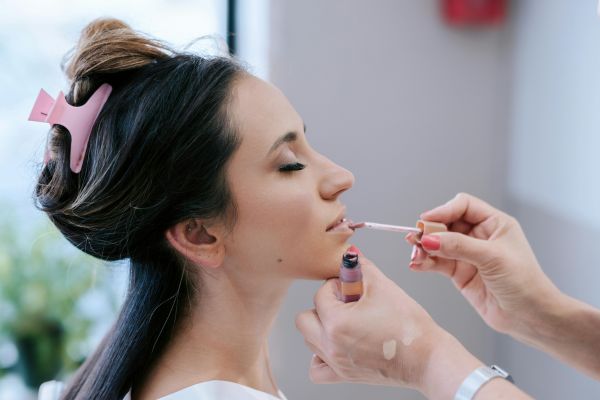
- There is minimal use of eye makeup, such as a minimal application of eyeshadow or eyeliner, along with a light amount of mascara.
- Light blush and highlighter are used to provide a dewy glow without being too shiny.
- The lipstick used is either nude or pastel-toned.
2. Party Makeup (Bold & Glam Look)
- Party makeup involves using a full-coverage foundation that ensures a smooth and flawless appearance that lasts longer during an event or function.
- Bolder colors are applied on the eyes and lips for a more striking appearance.
- More eye makeup involving eyeshadow, eyeliner (wing liner), and added mascara or false eyelashes is applied.
- Contouring, bronzer, and highlighting are applied to contour and shape the face and add a bit of a glow.
- Lipstick color used is bolder and more pigmented.
You may also like: Blush Draping Technique | 6 Steps to Get Instant Cheekbone Lift
FAQs | How to Apply Step by Step Makeup with Pictures
Q.1 How to apply basic makeup step by step?
Apply basic makeup by starting with clean, moisturized skin, then use primer, light foundation, concealer, and set it with powder for an even base.
Finish with simple touches like blush, mascara, and lipstick to enhance your natural look.
Q.2 What is the correct order to use makeup?
The correct order is: cleanse, moisturize, primer, foundation, concealer, powder, then contour, blush, and highlighter.
Finish with eye makeup (eyeshadow, eyeliner, mascara), eyebrows, lipstick, and setting spray.
Q.3 How to cover up hyperpigmentation with makeup?
Use a color corrector (like peach/orange for dark spots) before applying foundation to neutralize discoloration.
Then apply full-coverage foundation and concealer, and set with powder to lock everything in place.
Q.4 What is the 3 1 1 rule for makeup?
The 3-1-1 rule for makeup means carrying liquids in travel: each container should be 3.4 oz (100 ml) or less, all placed in 1 clear quart-size bag, and 1 bag per person.
It’s mainly used for airport security to keep your makeup and skincare travel-friendly and within limits.
Q.5 Can I just wear concealer instead of foundation?
Yes, you can wear just concealer instead of foundation for a light, natural look, especially if you only need to cover small areas like dark circles or spots.
Just blend it well and set with a little powder so it looks smooth and lasts longer.
Q.6 What is the difference between BB and CC cream?
1. BB cream (Beauty Balm) gives light coverage with hydration for a natural, everyday look.
2. CC cream (Color Correcting) has more coverage and is used to even out redness, dullness, or uneven skin tone.
Conclusion | How to Apply Step by Step Makeup with Pictures
Learning how to apply step by step makeup with pictures is not a complicated process at all if you follow the right steps. Always start with clean skin, build a smooth base, and apply your makeup details step by step.
With regular practice, you will become more confident and faster at applying makeup. Remember, makeup is not about hiding your face—it’s about enhancing your natural beauty.
Take your time, experiment with products, and most importantly—enjoy the process.
Also read: Fragrance Free Skincare | Skincare Without the Smell